
Before you start, you’ll need your client’s full name, date of birth, address, email address and mobile number.
Identity checks are a Pro-only feature. To send them, you’ll need:
- a Mailock Pro licence
- your company approved through our credentialling process
- two-factor authentication (2FA) set up on your account.
You can only send the check types your company has been approved for. To find out more, see ‘What are Identity checks?’.
Starting a request
Visit the Mailock site and sign in. Enter your 2FA code and click 'Sign in'.
When identity checks are enabled for your company, you'll need a 2FA code each time you sign in. This is a compliance requirement, so ticking 'Trust this device for 30 days' won't skip it.
Select the 'Identity Check' tab from the menu on the left:
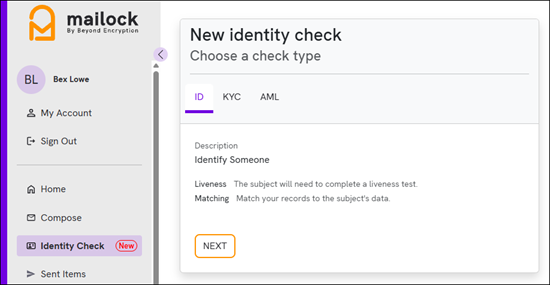
The checks you see depend on the ones your company has chosen and been approved for. Each tab shows what the check includes. Select a check and click ‘Next’:
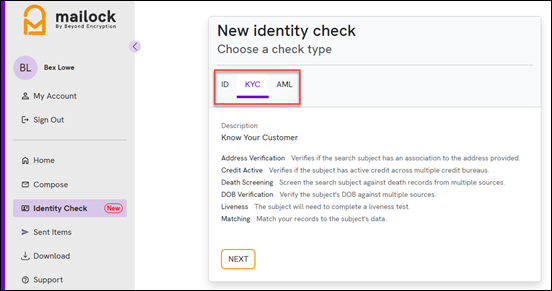
Completing the 'New identity check' form
Check your email address on the form, then enter your own mobile number. When your results are ready, we’ll text a code to this number. You’ll need this code to open your results, so make sure the number is correct.
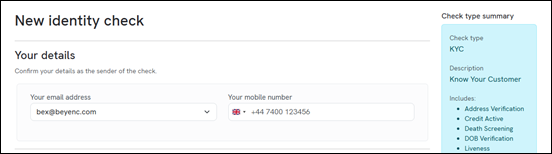
Checks can only be sent from the main address on your account, which must be for a named individual (not a shared address).
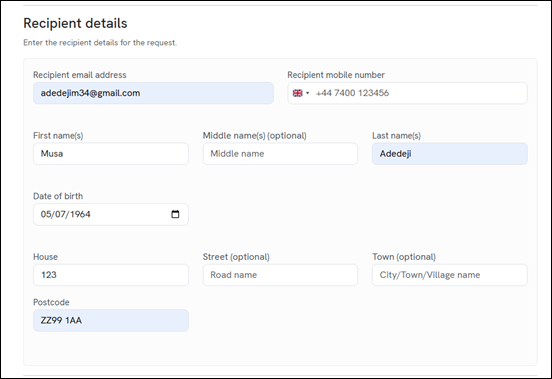
Enter your client's email address, mobile number, name, date of birth, and address details. Middle name, street and town are optional. The more information you add, the more accurate the check will be:
Add a reference, and if you like, a short note to your client:
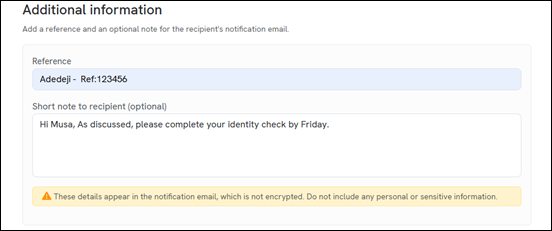
Your reference appears in the subject line of the request email and of your results email, so you can match results to your records. Your note appears only in the request email.
Subject lines aren’t encrypted, and neither is the request email. Don’t include sensitive information in the reference or the note.
Confirm the check is for a legitimate business purpose, then click 'Send Identity check request' (which stays greyed out until the box is ticked):

You'll see a confirmation that the request has been sent:
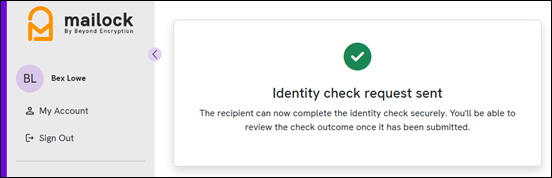
An email is sent to your client with a button to start their check. To see how they complete it, see 'What your client sees'.
The link in your client's email expires after 7 days, so follow up with them if they haven't completed their check by then. You aren't charged for expired checks.
Next steps
When your client completes the check, we'll send you the results. Find out how to open and download them here.